09 10 expr:class='"loading" + data:blog.mobileClass'>

Search This Blog

Saturday, December 17, 2016

Let It Snow Shaker Card for ScraPerfect

Hello everyone, Kim L. here today to share a festive winter card with you.  I decided to test out the Perfect Crafting Pouch when embossing and it was fabulous!  Normally, before embossing I would rub a dryer sheet over my card stock as preparation or try and get excess embossing powder off with a dry brush.  The Perfect Crafting Pouch was so much better!  Here is my process:


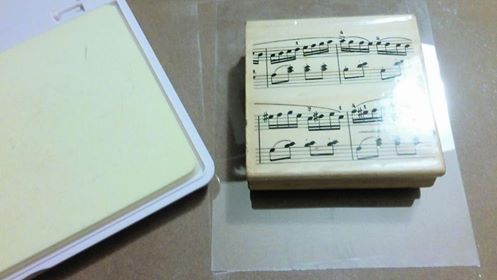
I swiped the Perfect Crafting Pouch over the acetate before embossing and the wiped off the excess powder.  Then I embossed the music notes onto the acetate.  I am using acetate rather than card stock because this will be a shaker card.  It gave a super crisp image too!


 .  
 At this point, I started constructing my card.  I adhered the background patterned paper to my card with the Best Glue Ever, the best glue for paper crafting by far because of the amazing hold!  I used double sided foam tape on my acetate to give dimension and then started embellishing.  For the tiny sequins that I added, I used Embellie Gellie, my favorite pick up tool. It lasts forever!


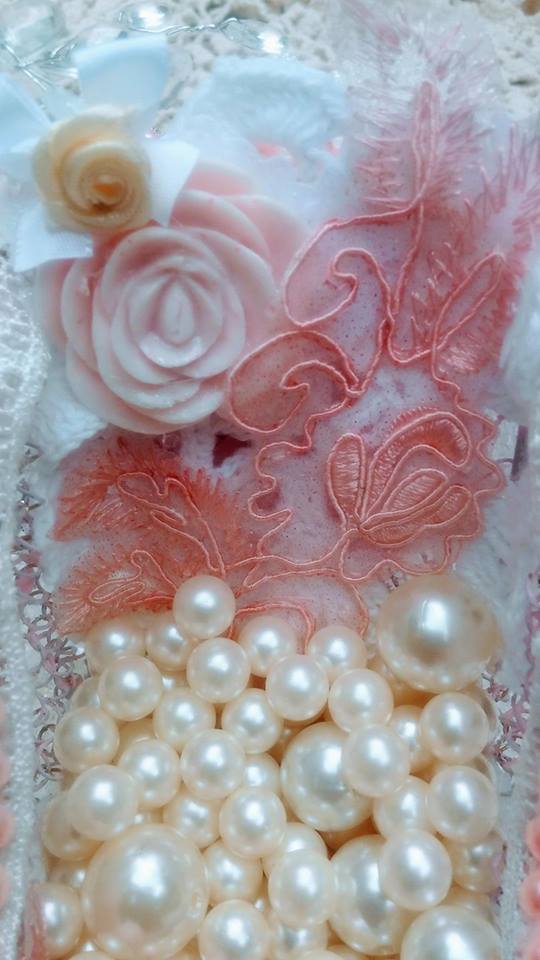
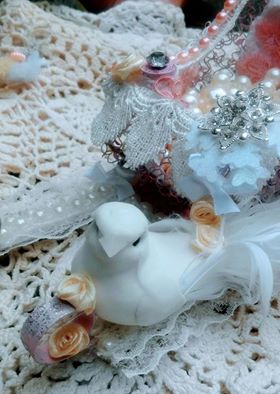
I added an applique, a snowflake bling, and pearly white snowflake sequins inside the shaker.


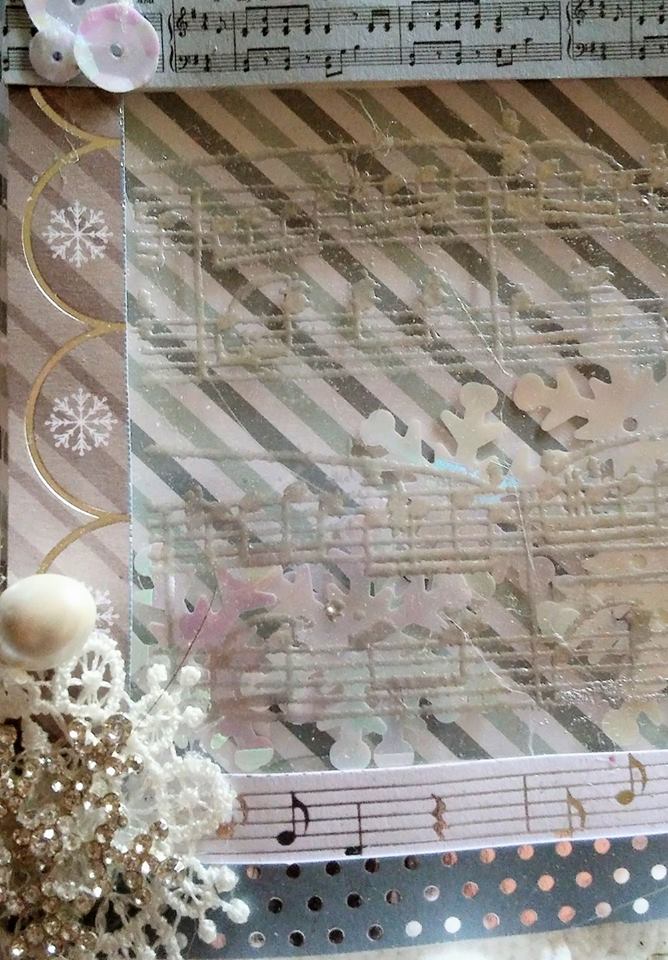
I continued to embellish and added silver tinsel and blue and white seam binding as a tassel on the top corner of my card.  I glued some white pom pom trim to the bottom of the card with the
 Best Glue Ever.  I also added a paper doily that I sprayed light blue and a sentiment to the card for more interest.  I love the way it turned out:


  Once the card was done, I used a small a amount of the Best Cleaner Ever on my hands for clean up.  Thanks so much for stopping by, be sure to subscribe to the blog, leave a comment,  and check out all of the fabulous products from ScraPerfect.  To see more of my work, please stop by my blog 
Vintage Rose Creations by Kim.  I will be back with one more project before the holidays.

Until Then,

Kim Lippincott

Saturday, December 3, 2016

Shabby Chic Christmas Sleigh

Hello Crafters, Kim Lippincott here today to show you a shabby chic sleigh that I created.  If you love pink and white, this project is for you!  I got this kit from Shabby is Chic Boutique.  Check out how it turned out with the help of some amazing ScraPerfect products:


The sleigh was glittery gold, so I started by painting it light pink.  Then I used my Best Glue Ever to apply the laces and pink pearl trim.  After spraying the large doily shabby pink, I also glued it down with the Best Glue Ever.  I love what a great hold this glue has and how little you have to use!  I then filled my sleigh with loose cream pearls and added some resin roses...yummy!


I again used my glue to add pink grosgrain ribbon to cover a jar that is holding cream bottlebrush trees, helping them to stand tall in the sleigh.  I got out my trusty and easy to use Embellie Gellie to set the rhinestones and snowflake embellishment.  This is one of my products because one package will last any crafter a lifetime!  A white shabby bird was added next and then some ribbon roses, all adhered with the Best Glue Ever.  I also decorated a wreath that is backed by a bow to hang from the back of the sleigh.


I hope you all enjoyed my sleigh, I can't wait to display it under my pink and white Christmas tree!
Please leave a comment and be sure to check out the wonderful family of products from ScraPerfect.  To see more of my work, please visit my blog, Vintage Rose Creations By Kim.  Until next time, be inspired!

Kim 


Shabby Angel Ornaments

Hello everyone!  I am in the holiday spirit and love ornaments, so can't wait to show you my latest project.  I altered the most adorable mini wooden bowling pins and turned them into angel ornaments with the help of ScraPerfect.  I sell a kit to make this ornament in my store,  The Vintage Rose Emporium.  Here is a photo of some of the things I started out with:


The first thing I did was gesso and paint the mini pin light pink.  I lightly brushed on some pink stickles and then used the Best Glue Ever to glue some trim around the pin to make the angel's dress.
I also used it to adhere pom pom trim around the collar.  Using the Best Glue Ever, I made some glue dots and used them to attach some feathers to the back of the pin for wings. I of attached a piece of white ribbon with a glue dot to hang the angel on the tree.  I love that you couldn't see the glue through the ribbon!

When it came to adding finishing touches, I used my favorite pick up tool Embellie Gellie. It is the best at releasing your embellishments, you'll never be a butterfingers again with this amazing stuff!


I wanted to give my angel a face, but a painter I am not.  I didn't think I would have enough control with a small paint brush to do a good job.  So I put the No Clog Writing Cap on my paint bottle...perfect solution!


Here is the end result, I love the way this sweet angel turned out.


 I had so much fun making her, that I made two.  I hope you like them and feel inspired to use your
ScraPerfect goodies and make some angels too!  Thanks for stopping by, please leave a comment.
You can see more of my work on my blog Vintage Rose Creations By Kim.


Until Next Time,

Kim