09 10 expr:class='"loading" + data:blog.mobileClass'>

Search This Blog

Monday, July 31, 2017

Transfer Foils and Art Journaling, So Easy and Fun!

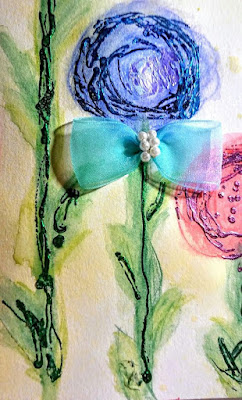
Hi Crafters!  I am  here today to share with you my first experiment using Transfer Foils from ScraPerfect.  I am a beginner at art journaling and decided to play around with a page that I drew with watercolor pencils and went over for blending with a water brush.    Here is how it turned out:


The steps to using the foils are simple, after creating my basic page, here is what I did:

1. Using the Best Glue Ever with the No Clog Writing Cap, apply a LIGHT coat of the glue where you want the foil to be.  Think of it as you are drawing with the glue bottle.

2. WAIT!!!!  This is crucial, you must wait (I waited 10 minutes) before placing the foil down.  If you put foils over glue that hasn't cured, it doesn't come out well and wastes supplies.

3. Place a piece of the foil (only the size you need) over the cured glue

4. Burnish (or rub) over top of the foils to make sure they stick, I used my bone folder for this.

5.  Take off your foil pieces, and you have transferred them to your page!


Here are some more detailed views of my page:


I embellished my page a little by adding a caption and border with marker and I used the Best Glue Ever to adhere two cute little bows to a couple of the flower stems. For a subtle background, I used a pale yellow spritz spray from my stash.

I hope you like my art journal page and will give the Transfer Foils a chance, they were so much fun and easy to to create with!  To find Best Glue Ever and all of the other amazing products go to ScraPerfect.  Thanks for stopping by, please take a moment to comment, and visit us again soon.

Until Next Time,

Kim Lippincott

How to Create An Elegant And Shabby Chic Dream Catcher with ScraPerfect

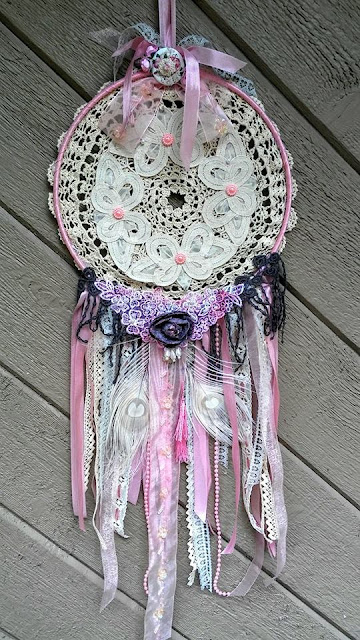
I started with a metal ring, placed a dot of the Best Glue Ever on the top of the ring, and then wrapped pink seam binding around the entire ring and glued the bottom down as well.  I left a loop at the top for hanging. Perfect way to camouflage the ring, you could also use ribbon or a long piece of fabric for this.

Next, I got a large crocheted doily, cut out the center so the dreams could get through, and the used the
Best Glue Ever to secure the doily to the back side of the ring. I also cut the center out of a battenburg doily band used the Best Glue Ever to adhere it to the top of the crocheted doily and then added pink pearls.


Next, I started working on the tails for the bottom of  the dream catcher.  I used pieces of seam binding, ribbon, laces, pearl trim, and tassels for this.  I adhered them all to the bottom of the ring with glue dots of the Best Glue Ever.


Now it is time to get out the Embellie Gellie and start embellishing. I added teeny tiny pearls around the battenburg doily. On the top of my dream catcher, I added a decorative wood button and perfectly placed a tiny flower on top of it.  I would not have been able to get that placement without Embellie Gellie!


Here are some photos of the finished dream catcher, I hope you like it!


Thanks for stopping by, please leave a comment and subscribe to my blog.  See you soon!

Kim