Here is the inside of this one:
And now my second Easter card:
And the inside of this one:
And finally, my third card:
And the inside of the third card:
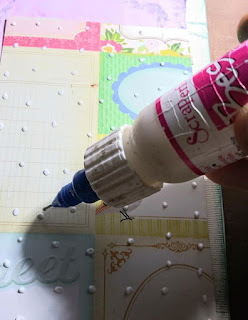
Now, let's talk about how I created these cards. I began by making card bases out of card stock. Then I used some hand dyed paper that I purchased for layering. I cut our Easter related images from paper from my stash, and began assembling my cards. The only adhesive used in making these three cards was the Best Glue Ever. How great is it that I could use it for all types of papers and my embellishments? The only thing to consider is the weight of what you are securing to your card. For larger items, use a large glue dot and let it cure until clear before adhering to your card. Always use a No Clog Writing Cap on your bottle too for precision when attaching tiny things.
For these cards, I did use some tiny embellishments like sequins and pearls. To ensure that my sequins were perfectly paced, I used my Embellie Gellie to grab them. I love this product!
For added interest on my trio of cards, I decided to carry some of the design elements from the front of my cards to the insides. I love working with pastel colors and had fun making embellishment clusters for the inside of my cards. Since I know that these cards will be hand delivered for Easter, I could have more chunky bits on it and add more to the insides. I hope my loved ones will like what I created for them this Easter!
Thanks so much for stopping by today, I hope I have inspired you to make some Easter or Spring cards of your own. Grab your essentials from ScraPerfect and while you are there follow us on social media.
Crafty Hugs,
Kim


