09 10 expr:class='"loading" + data:blog.mobileClass'>

Search This Blog

Showing posts with label No-Clog Writing Cap. Show all posts

Wednesday, June 19, 2019

ScraPerfect Makes Clean And Simple Cards Quick and Easy!

Hi there!  I am here today to share two quick and easy, clean and simple cards that I made with the help of the products from ScraPerfect.  I have seen many out there posting quick and easy cards and thought I would challenge myself to make some too.  Clean and simple cards are also a challenge for me since I love embellishments!  I am stunned that the only supplies I needed was 3 sheets of 12 by 12 paper, some sequins and buttons, white ribbon,  the Best Glue Ever and Embellie Gellie.
I even had some of the paper left over!  Here are the cards I created:


I began by cutting a sheet of yellow 12 by 12 paper into 2 card bases.  I then choose some paper by Illustrated Faith and cut out the pieces that I wanted to add to my card.  I used the
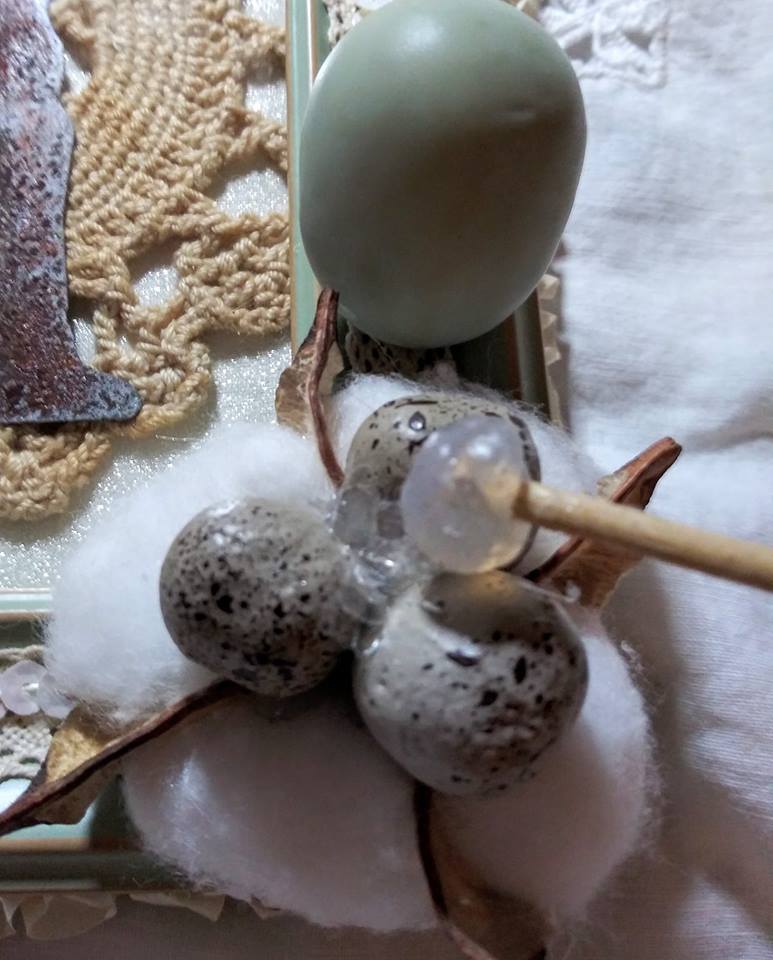
Best Glue Ever with the large No Clog Writing Cap on top to apply tiny dots to the paper pieces and then secure to my cards.  This step was made easier since all of my paper stuck to the card stock very well since the Best Glue Ever has the best stick factor out there!


To quickly add some embellishments to my cards, I grabbed some small buttons and sequins and my
Embellie Gellie and was able to place them perfectly on my cards.  I love this product sine I don't have to worry about dropping tiny pieces or accidentally getting them stuck in the glue.  Look at how easy it is to use:


As a finishing touch, I made 2 bows out of white organza ribbon and added them to my cards with a large glue dot of the Best Glue Ever.  I added a button to the bow centers and since they were a bit heavier on the bow, I waited until my glue dot cured and was clear before attaching the bows to the cards.  I think they give my cards the perfect touch.  I think my clean and simple cards came out pretty cute and were definitely quick and easy thanks to ScraPerfect!  Here is a closer look at both of my cards, I hope you like them:


Thanks so much for stopping by today!  Be sure to follow ScraPerfect on social media and follow the blog to find creative inspiration and information about the entire product line.  

Crafty Blessings,

Kim 

Sunday, May 19, 2019

A Perfect Vacation

 Hello everyone  today, I am sharing a card that I made in honor of summer approaching.
  Thoughts of the beach and summer days spent there inspired this project.  I hope you like it!


I began this card by securing the striped card stock to my card base with the Best Glue Ever
  I also have a large No Clog Writing Cap on my glue bottle.  It helps reduce waste by providing more control and you only need a tiny amount and the stick is fantastic!


I made an large embellishment for the top of my card by attaching a piece of card stock from the Graphic 45 collection called Sun Kissed to a piece of ribbon.  I used foam tape on the back of the card stock for dimension, and secured the ribbon to my card with glue dots made from the 
Best Glue Ever. I added some coordinating orange sequin trim to the sides of my card stock as well. Three royal blue sequins were added to both sides also and I added clear crystal stickles from White Rose Crafts to the beach image.


For the middle of my card I cut out two flags from the same paper collection and attached them to the card next to each other with the Best Glue Ever.  I added a blue sequin at the points of each flag for interest, and placed them perfectly by using Embellie Gellie  I used a 2 and a half inch circle punch and punched out a circle from some jellyfish paper from my stash.  Using a distress ink pad, I stamped my sentiment, which reads " a perfect vacation".  Finishing my card off, I used glue dots made from the Best Glue Ever to secure  two small shells and a piece of sea stone to my card.  


Making this card has made me want to go to the beach and have a perfect vacation myself!  I hope it has inspired you to dream of the beach and create something beachy too.  It was easy with the help of the products from ScraPerfect and White Rose Crafts.  The design for this card was provided by the White Rose Crafts Blog as it is their Sketch Challenge for May.  I will be entering my card in this challenge.

Until Next Time,

Kim 

Friday, April 19, 2019

Easter's On Its Way!

Hello everyone, I am here today to share some cards for Easter that I created with ease using products from ScraPerfect.  Take a look at what I designed, here is my first card:


Here is the inside of this one:


And now my second Easter card:


And the inside of this one:


And finally, my third card:


And the inside of the third card:


Now, let's talk about how I created these cards.  I began by making card bases out of card stock.  Then I used some hand dyed paper that I purchased for layering.  I cut our Easter related images from paper from my stash, and began assembling my cards.  The only adhesive used in making these three cards was the Best Glue Ever.  How great is it that I could use it for all types of papers and my embellishments?  The only thing to consider is the weight of what you are securing to your card.  For larger items, use a large glue dot and let it cure until clear before adhering to your card.  Always use a No Clog Writing Cap on your bottle too for precision when attaching tiny things.


For these cards, I did use some tiny embellishments like sequins and pearls.  To ensure that my sequins were perfectly paced, I used my Embellie Gellie to grab them.  I love this product!


For added interest on my trio of cards, I decided to carry some of the design elements from the front of my cards to the insides.  I love working with pastel colors and had fun making embellishment clusters for the inside of my cards.  Since I know that these cards will be hand delivered for Easter, I could have more chunky bits on it and add more to the insides.  I hope my loved ones will like what I created for them  this Easter!

Thanks so much for stopping by today, I hope I have inspired you to make some Easter or Spring cards of your own.  Grab your essentials from ScraPerfect and while you are there follow us on social media.  

Crafty Hugs,

Kim 

Thursday, April 18, 2019

All About Embellishments!

Hello everyone, I am here here today to share something special with you!  This month, each of the ScraPerfect Designers are creating handmade embellishments using the line of products offered by ScraPerfect,  This is going to be an exciting way for you to see the many possibilities that you can create at home to use on your projects.  I have chosen to make some embellishments with yoyo's and bottle caps.  I am featuring the Best Glue EverNo Clog Writing Caps,  Embellie Gellie, the Tiny Bottles of Embellishments, and the Wheel of Embellies,  Here are the embellishments that I created:


Let's start with the bottle caps, for these I painted the top of the bottle caps with white gesso and let dry.  Then I squeezed a small amount of the Best Glue Ever on (with the No Clog Writing Cap on  the bottle always) and used a brush to spread evenly.  Once tacky and clear, I put my bottle caps in a small dish and sprinkled some of the rose gold  glitter from the Tiny Bottles of Embellishments on top and let that cure.


Once dry, I also used the Best Glue Ever to adhere my embellished bottle cap to a doily (with large glue dots).  I repeated this process to attach a paint sample card behind that.  For added interest, I also added a tiny resin bow on top of my bottle cap with the Best Glue Ever.  I love the way it came out and think it would be a great addition to a card or scrapbook layout.


I made two other decorated bottle caps, to be used as embellishments on my future creations:


For this one, I added glitter and a resin rose to the bottle cap and attached it to a store bought ephemera card.  I  think t his one would be perfect for a junk journal embellishment!


On this bottle cap, I adhered silver micro beads from the Tiny Bottles of Embellishments with the Best Glue Ever and added a clear resin rose on top.  I attached it to a store bought bow.  I thought this one may go in my planner as a cute embellishment.

Now, on to the yoyo's.  I love using these in all types of my creations and love how they look as embellishments.  Since they are made of cotton fabric, I used medium sized glue dots made from the Best Glue Ever to adhere them to each other.  I made 3 different types of embellishments with the yoyo's:


 In my opinion, this embellishment would be very pretty on a vintage style project.  It's simple to make too!  Just use the Best Glue Ever to attach the yoyo's to each other and then to the doily.  Add a dot of glue in the center hole of each yoyo and drop a loose pearl inside.


I used a store bought piece of ephemera for this one and added a yoyo, a small doily and 3 loose tiny pearls in the center.  I then added 2 tiny pearls to the sides of the ephemera and added some pretty trim to the back.. I think this would be a great belly band for a junk journal, or on a gift bag!


This one was done in the shabby chic style and was also very easy to make.  Cut a triangle out of denim, add some of the rhinestones from the Wheel of Embellies with the Best Glue Ever, and attach to a yoyo.  Then add a crocheted flower with a tiny pearl in the center and you are finished.  I love the sparkle on this one!

I hope you like the handmade embellishments that I created and will try to make some of your own.  They are great to gave on hand when you are creating and can be added to anything! Thank you for stopping by today, please check back to see what the rest of the Designers make and follow
ScraPerfect on social media so you don't miss anything!  

Crafty Blessings,

Kim 

Tuesday, March 19, 2019

Do You Love Fairies?

Hi there!  Kim L. here today to share my latest make for ScraPerfect.  Do you like fairies?  If so, you will love the card I just created.  I am relatively new to the world of fairies, but am quickly falling in love with them.  They inspired this card, I hope you like it:


I was inspired by the paper I found in my stash that I got from White Rose Crafts and challenged myself to use colors outside of my comfort zone.  So I began by painting a purple glittered paint on my card for the background.  I also swiped a purple ink around the edges of my card, inside and out front and back.   Then I secured a green paint chip to the card using the Best Glue Ever of course with a small No Clog Writing Cap on top for precision.  I only used small dots of glue since you only need a tiny amount for a great hold.  Repeating this process, I finished my background with a white heart shaped paper doily and the fairy paper from my stash.


I added a pretty sequin trim around the portion that was painted purple with the Best Glue Ever in a thin line.  I let this sit for a few minutes before working in that area on my card.


Now that my background was done, it is  time to embellish my project.  This is the part of the process that I enjoy most!  I wanted to give my fairy some sparkle, so I covered her dress with the
Best Glue Ever and then gently shook a lavender Tiny Bottle of Embellishments over the dress and it turned out very pretty!


Some self adhesive gems were also added for interest, as well as two sequin stars in different shades of purple.  On the top center of my card I added a lavender polka dot bow and a paper flower.  I embellished the center of the flower with a dew drop from my stash,  I adhered this to the flower with the Best Glue Ever and placed it perfectly using Embellie Gellie.  This product is fabulous for placing tiny embellishments that are so hard to keep track of or get stuck to your fingers.


Trying something different, I also added pieces of my fairy paper to the inside and back of my card with the Best Glue Ever.  I like how these details added a unique touch to my card.


I really appreciate you stopping by today to see my fairy themed card.  Please be sure to go to ScraPerfect to get supplies for all of your crafting needs and follow ScraPerfect on social media for updates and inspiration.  I would love it if you would follow my blog as well, Vintage Rose Creations by Kim, to see more of my work.  

Crafty Blessings,

Kim Lippincott


Saturday, March 9, 2019

Hippity Hoppity Easter's On It's Way!

Hello everyone, I am. here today for ScraPerfect to share a home decor project that is great for Easter or Spring.  I love home decorating for the holiday and found a frame on clearance to alter and I love the way it turned out, thanks to the amazing products from ScraPerfect.  Here is what I created, I hope you like it:


To begin. I measured and cut the cream crochet ribbon and ivory sequin trim and set them aside.  Then I applied small dots of the Best Glue Ever along the turret on the perimeter of my mint green photo frame.  I applied the crochet ribbon while applying gentle pressure and repeated the process with the sequin trim.  I took the back of my frame off  and attached ivory organza to the inside with the Best Glue Ever.  I made medium sized glue dots  from the Best Glue Ever and used them to secure the tea dyed doily to the organza.  This was also done with the rusty overalls, which I swiped with a beige ink pad to give a distressed feel. Whenever I am working with the Best Glue Ever, I keep a small No Clog Writing Cap on my bottle for precision and to reduce the amount used since a little goes a long way!


Now it is time to embellish my project.  I used the Best Glue Ever to attach the mint green metal clip to my frame.  It holds my hanging rabbit resin embellishment that I also added a small ivory gross grain bow to.  On the opposite corner, I used  large glue dots of the Best Glue Ever to secure the white cotton bud and small grey speckled eggs on top to my project.  I also attached the large green egg this way.  Then I got out my Embellie Gellie to add some mica flakes in the middle of my small egg trio, as well as on the clip on the top of my frame.


Thank you all for stopping by today to check out my home decor piece, I had fun making it and can't wait to display it for Easter.  Please be sure to follow ScraPerfect on social media and stop by the store website to purchase your supplies too, you won't be sorry!  If you would like to see more of my work, you can subscribe to my blog, Vintage Rose Creations by Kim.

Until Next Time,

Kim Lippincott

Tuesday, February 5, 2019

Lost and Found: Shabby Chic Layout in Purple

Hi there!  Kim L. here today for ScraPerfect to share a unique scrapbook layout that I created.  I wanted to try a layout that was a combination of artsy and shabby and I wanted to challenge myself to keep it as monochromatic as possible.  This is the page I created, I hope you like it, I had fun with this one!


To begin, I lightly sprayed the page and then used a few drips of  alcohol inks in purple tones.  I added in some metallic silver and white chalk paints.  I also used a lavender distress ink from my stash around the edges of the page.  To seal, I coated the entire page with soft matte gel and let dry. 
 I felt this background gave the arty look I was going for,


Now I got out my shabby chic elements and started building on the background.  I used the
Best Glue Ever to adhere some paper to my page and them some paper doilies on top of that.  The Best Glue Ever is awesome for paper crafting since it sticks so well and can be used in so many ways.  You only need a few dots on the back of your paper, and when you have a No Clog Writing Cap on your bottle, you won't use too much glue.


I also added a wooden window with shutters to my page.  The inside of the window is where I attached my photo using the Best Glue Ever, which I also used to secure the wooden embellishment to my page.  Some flat back pearls were added to the outside of the window, as well as the same shimmer and metallic paints that I used in my background.  Flowers serve as details on the corners around the window and glitter glass was adhered to the wooden shutters with the Best Glue Ever.
On the inside of my window, I attached some chipboard words from my stash above and below my photo and accented that with rhinestone box chain.  Small pieces of torn washi tape were added to the corners of my page and on the sides of the wooden window on the outside.  All of these elements were secured to my layout with the Best Glue Ever.


To perfectly place my small embellishments, I used some Embellie Gellie.  This is the easiest way to add tiny details in a flash!  At this point, I attached some white lace trim with roses along the bottom edge of my page with glue dots made from the Best Glue Ever.  I find that the glue dots work better with a heavier item like the lace trim.  As a finishing detail I added some crinkled seam biding, pearl trim, and a polka dot bow under one of the flowers for some added interest.  I also applied some stickles in lavender from my stash to all of the flowers for sparkle! Here are some photos of the details I incorporated:


 Once my page was completed, my hands had all kinds of paint and ink on them, so I gave them a couple of squirts of the Best Cleaner Ever and got them clean in no time.  This cleaner is truly amazing and I love that it is non toxic.

I hope you like my lay out and will be inspired to try one yourself!  Grab your supplies from 
ScraPerfect and have some fun with your own layout.  While you are at it, stop by the site for 
ScraPerfect and subscribe to the blog so you don"t miss any of the designers inspirational projects.  To see more of my work,  subscribe to my blog, Vintage Rose Creations by Kim.
I'll be back again later in the month with more projects, until then I hope you all have a wonderful Valentine's Day!

Crafty Hugs,

Kim Lippincott